As a brewer, you know that to release starches and produce fermentable sugars during mashing, you must crush malt properly. Milling your own grains makes homebrewing more efficient and cost-effective. Instead of frequent trips to the homebrew shop, you can buy in bulk, save money on milling, and take full control of your recipes. A well-crushed malt is essential for brewing the perfect beer.
The ideal way to crush malt
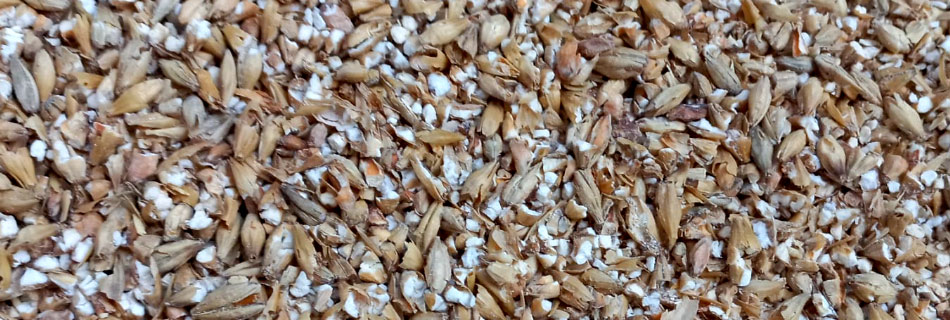
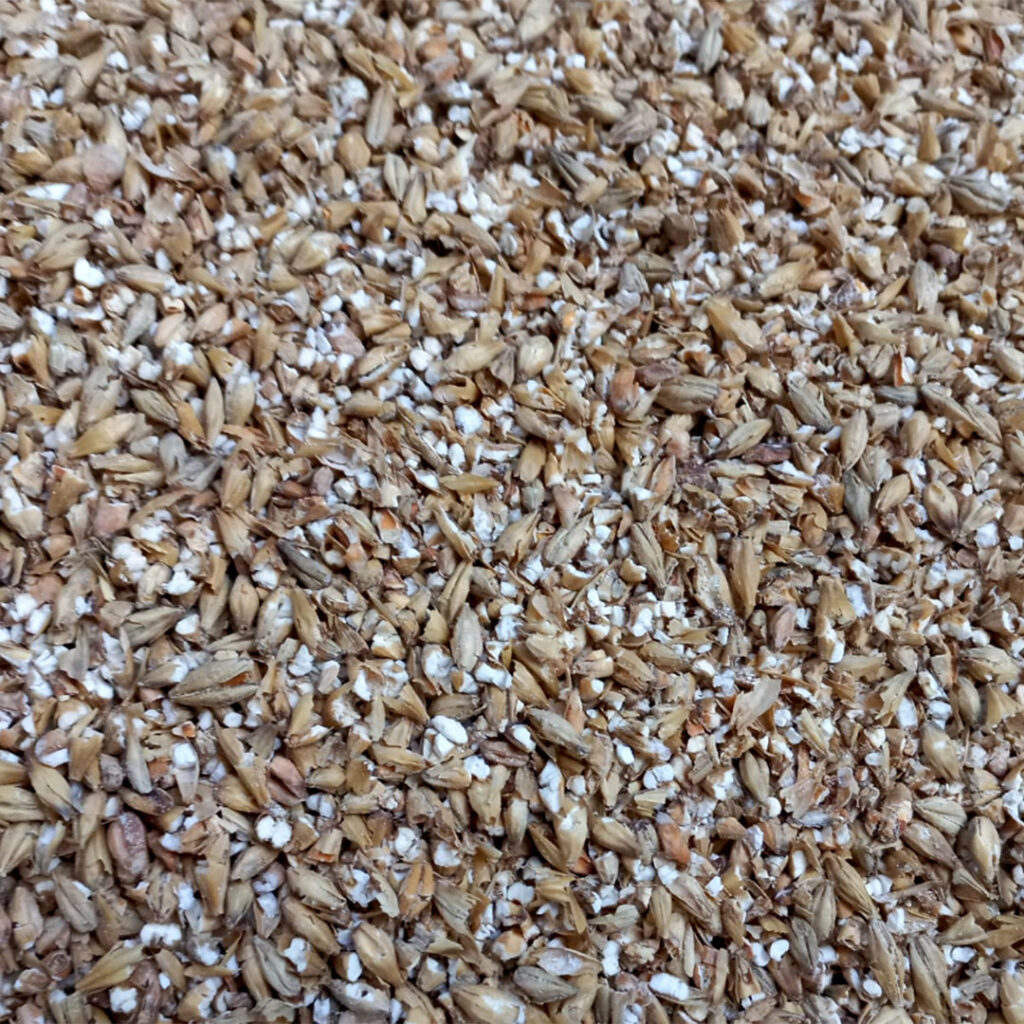
A well-crushed malt opens the husk while pulverising the kernel’s interior. The more starch you expose, the higher your extract yield. The husks act as a natural filter during lautering and sparging, ensuring a smooth wort flow. If you’re brewing with flakes, rye, or wheat, simply add rice hulls to replace missing husks. Flaked grains don’t need milling, so you can use them straight away.
Choosing the right equipment
For standard homebrew volumes, a two-roller mill works best. Adjust the gap carefully to achieve the perfect crush. If the rollers are too tight, the grist will turn floury, increasing the risk of a stuck sparge and a hazy beer. If the gap is too wide, the kernels won’t break properly, leading to a lower extract yield. The ideal crush cracks the husks and pulverises the grist—use a bankcard to gauge the spacing between the rollers.
Before milling your entire batch, test a handful of grains to check the crush quality. Manually crushing malt can be an option, but using an electric drill makes the process quicker and easier. Start slowly and avoid high speeds, as excessive force can over-mill the grain.
To crush malt efficiently, you need a scale to measure your grain bill, a bucket for the grist, and a grain hopper—usually included with the mill. The process creates dust, so work outdoors if possible. Clean all equipment thoroughly after use to maintain quality.
Storing milled malt
Freshly crushed grain delivers the best results, so it’s best to mill just before brewing. However, if you need to store it, keep it in an airtight, sealed bag. Milled grain can last up to a year, but for optimal freshness, use it within two to three months.
Now, let’s crush that malt and brew something exceptional!